SDK Setup (Linux - Ubuntu)
This page is all about getting your Linux machine compiling code for the nRF9160 Feather. Run into trouble during the process? Post your questions on the community forum.
Installing Extension
If you didn't already, install Visual Studio code. You can download directly from the Ubuntu Software Install utility. (or similar)
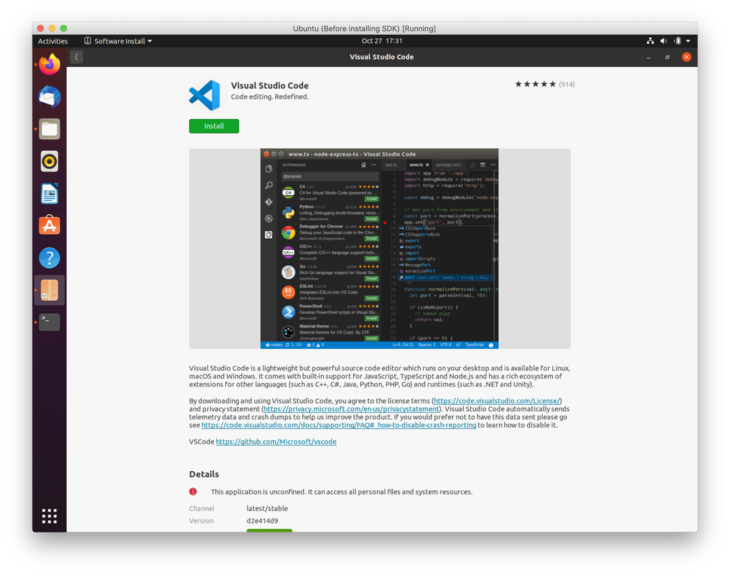
Then we can continue installing the extension!
Fortunately, it's a bit easier to get started with the VSCode extension. The VSCode is required along with a Python 3 and Git on your system before continuing.
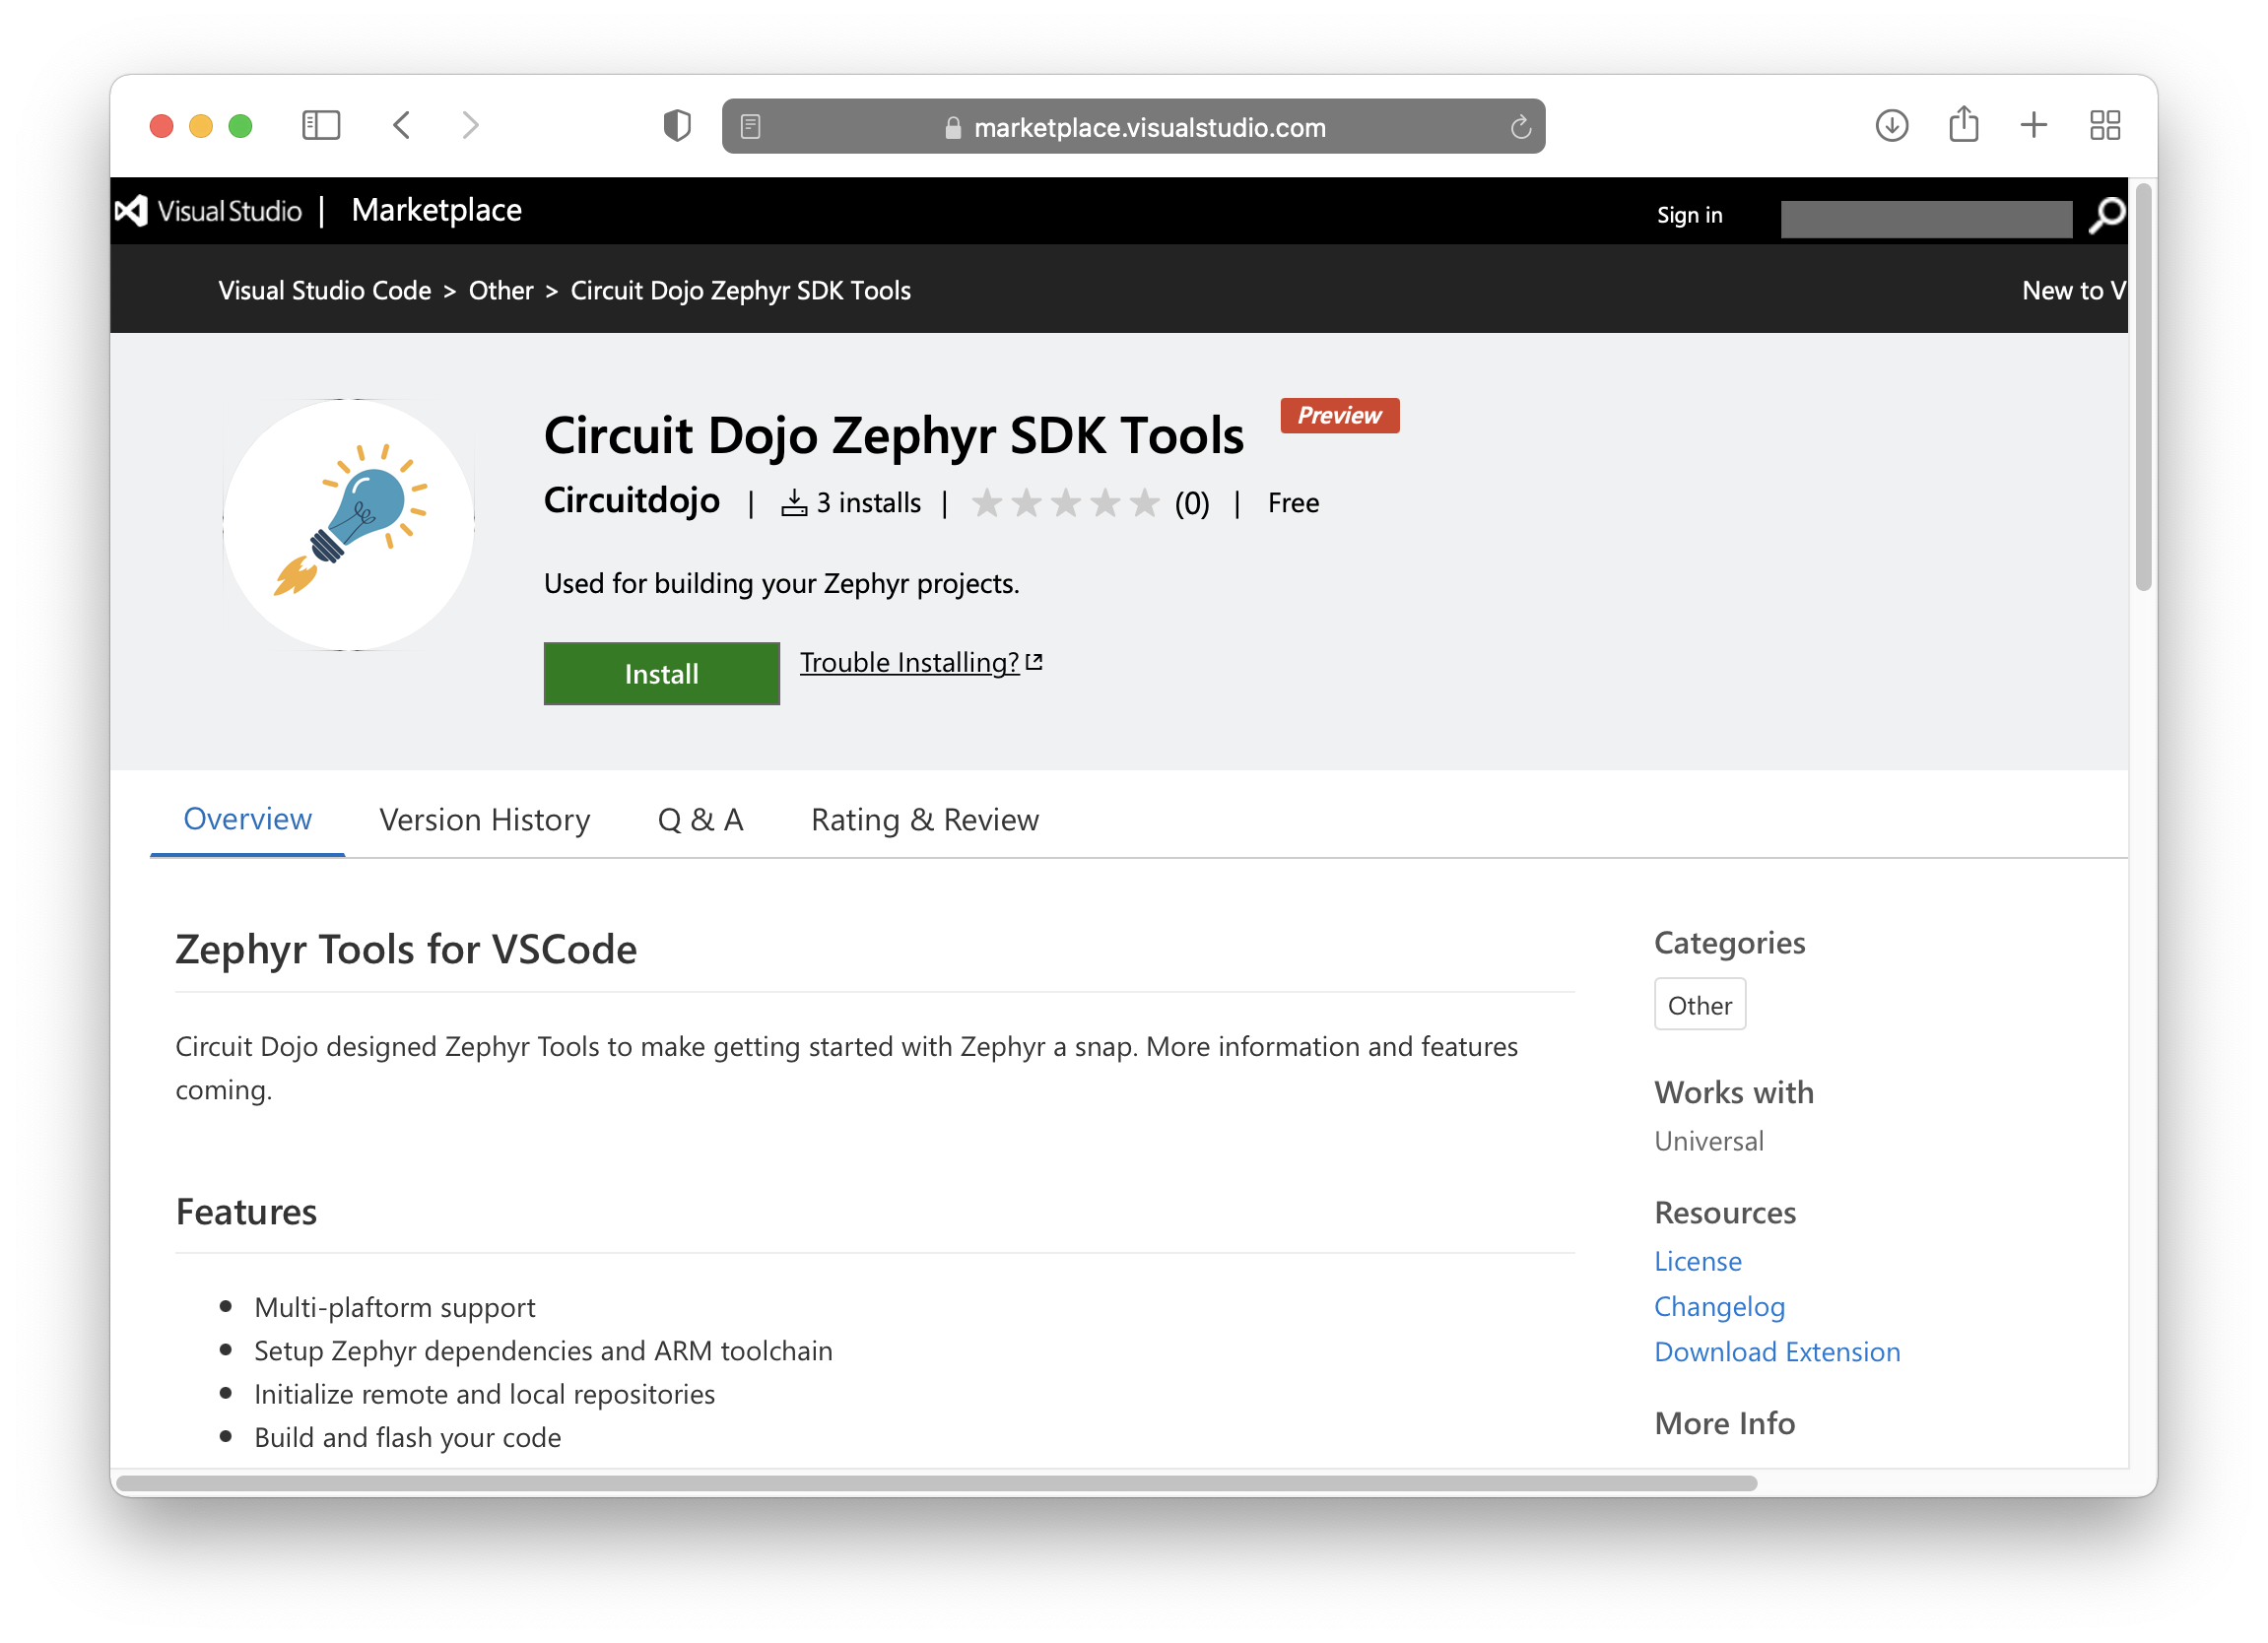
Once Visual Studio code is installed, download the extension here. 👈
Once loaded it will also install all necessary VSCode dependencies.
Then, install Git, Python, and Pip.
For example on Ubuntu:
sudo apt install git python3 python3-pip
Run Setup
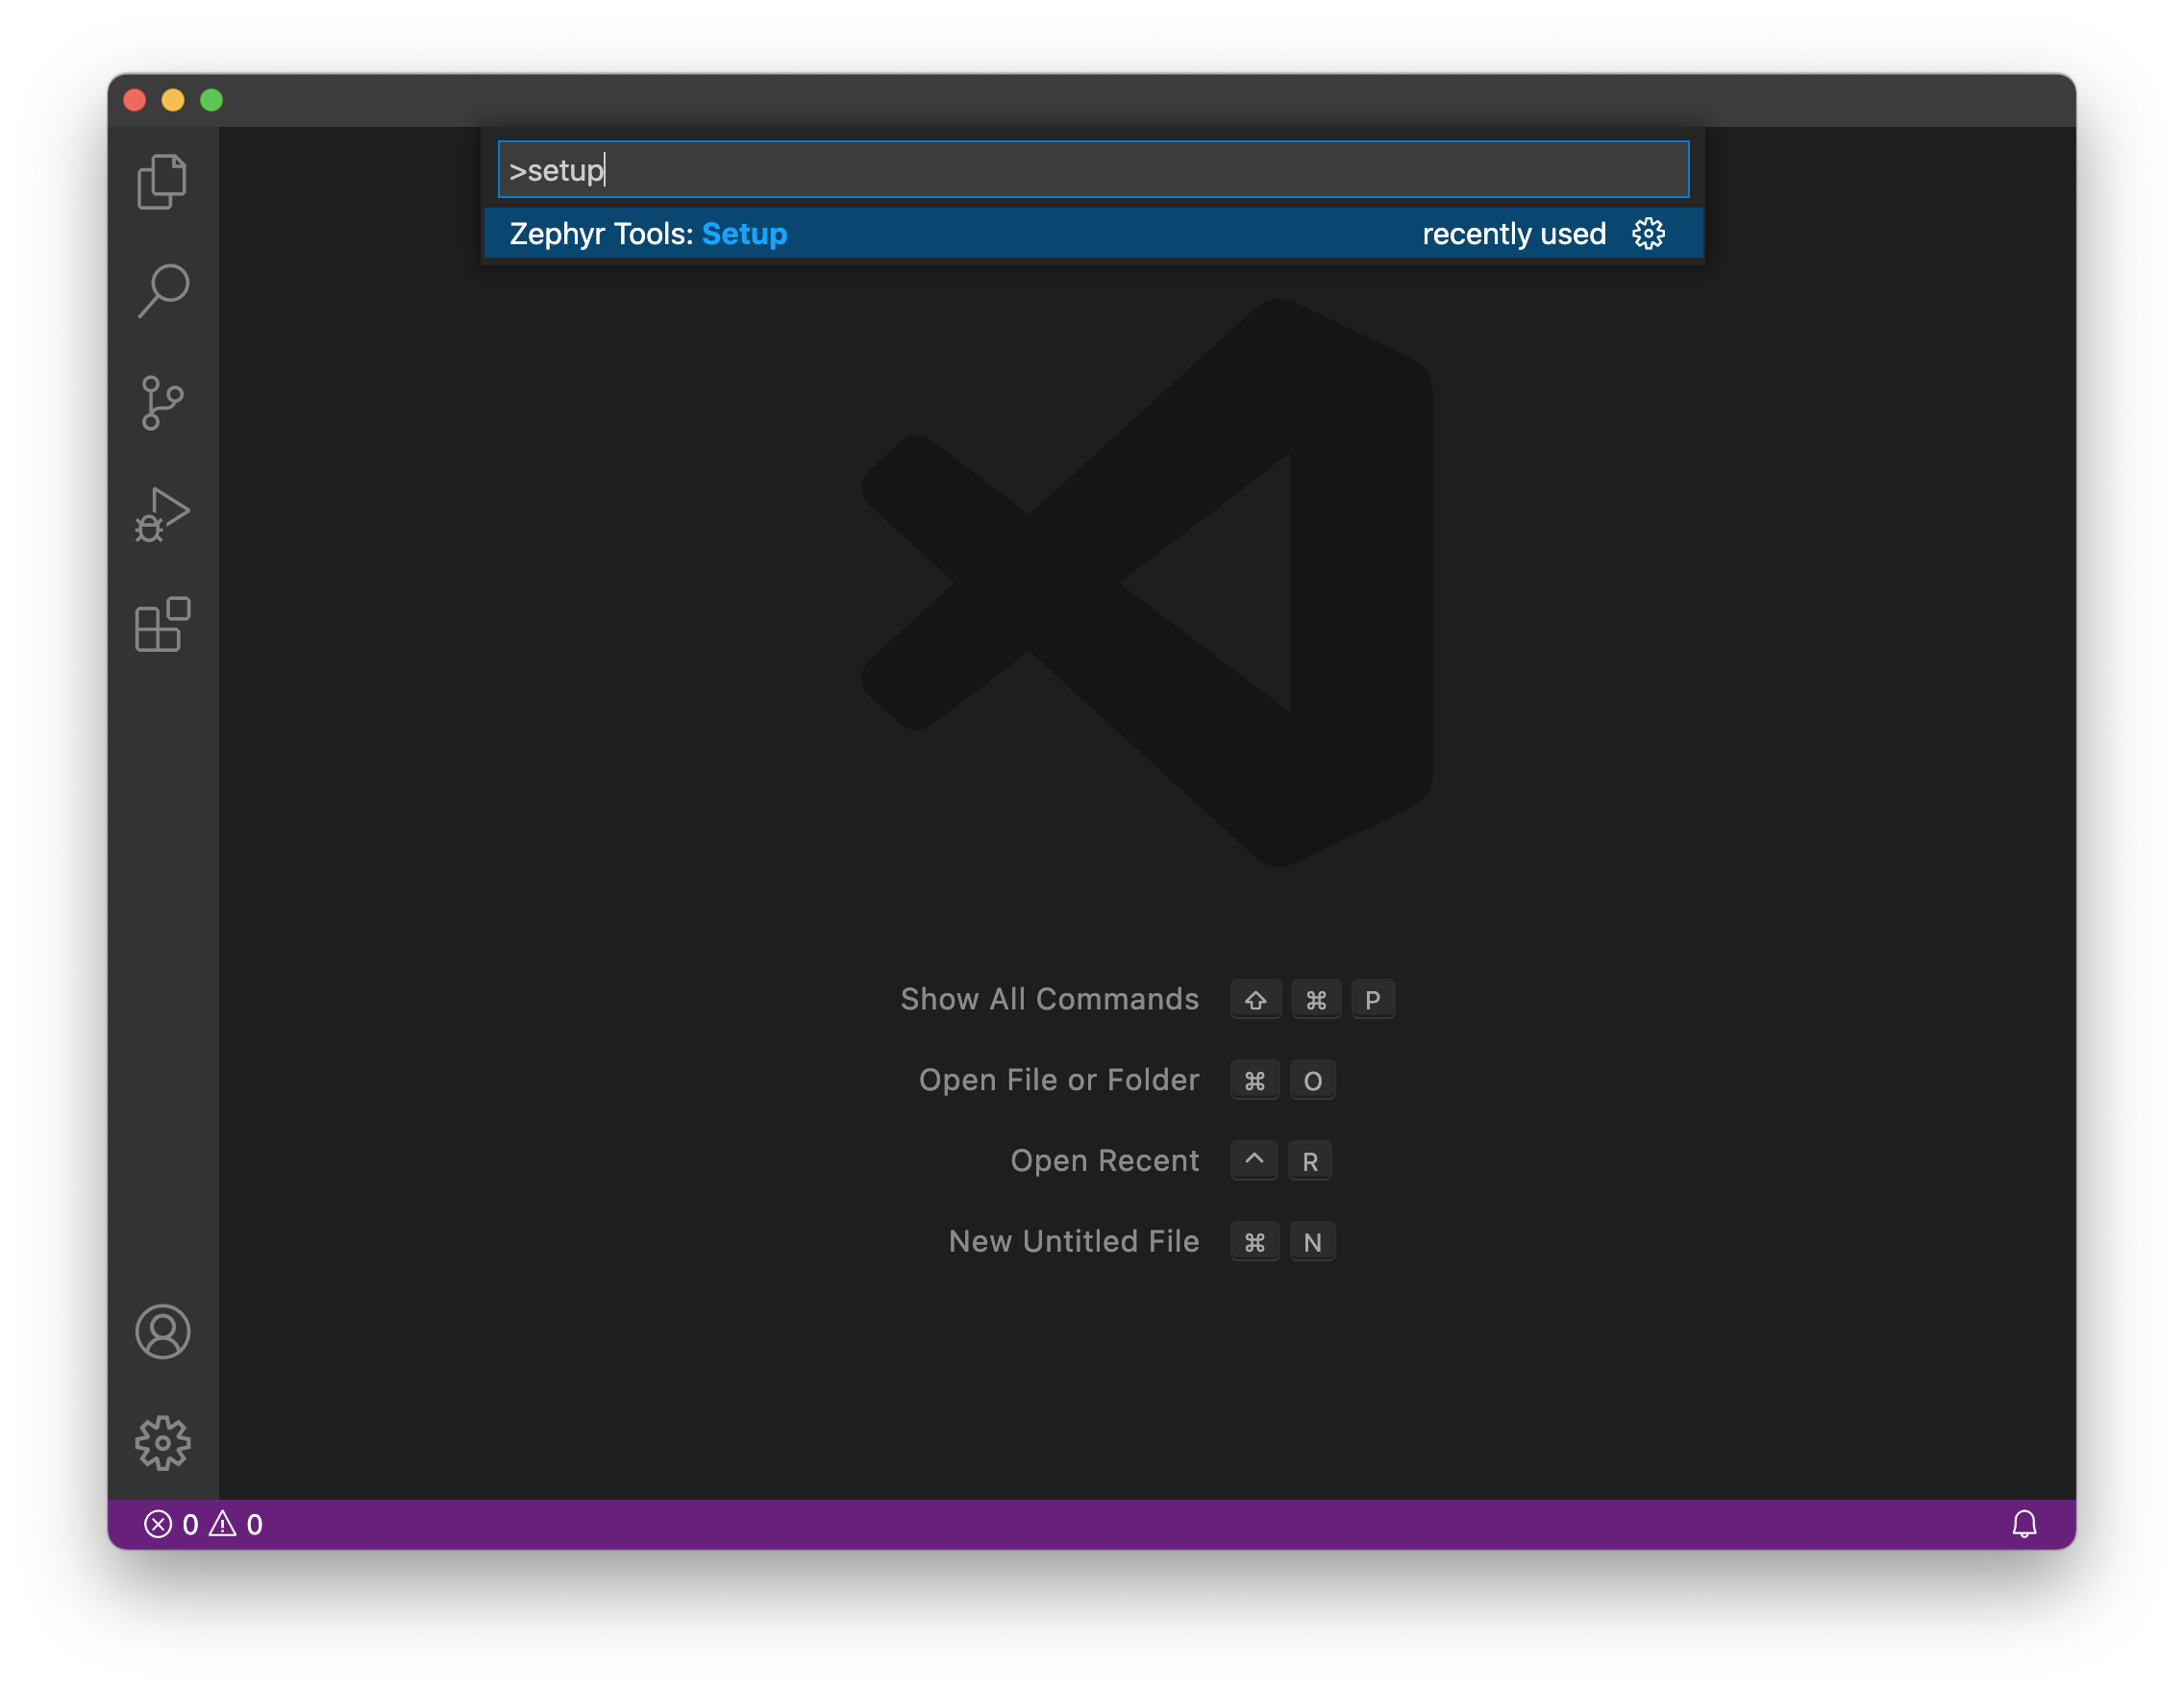
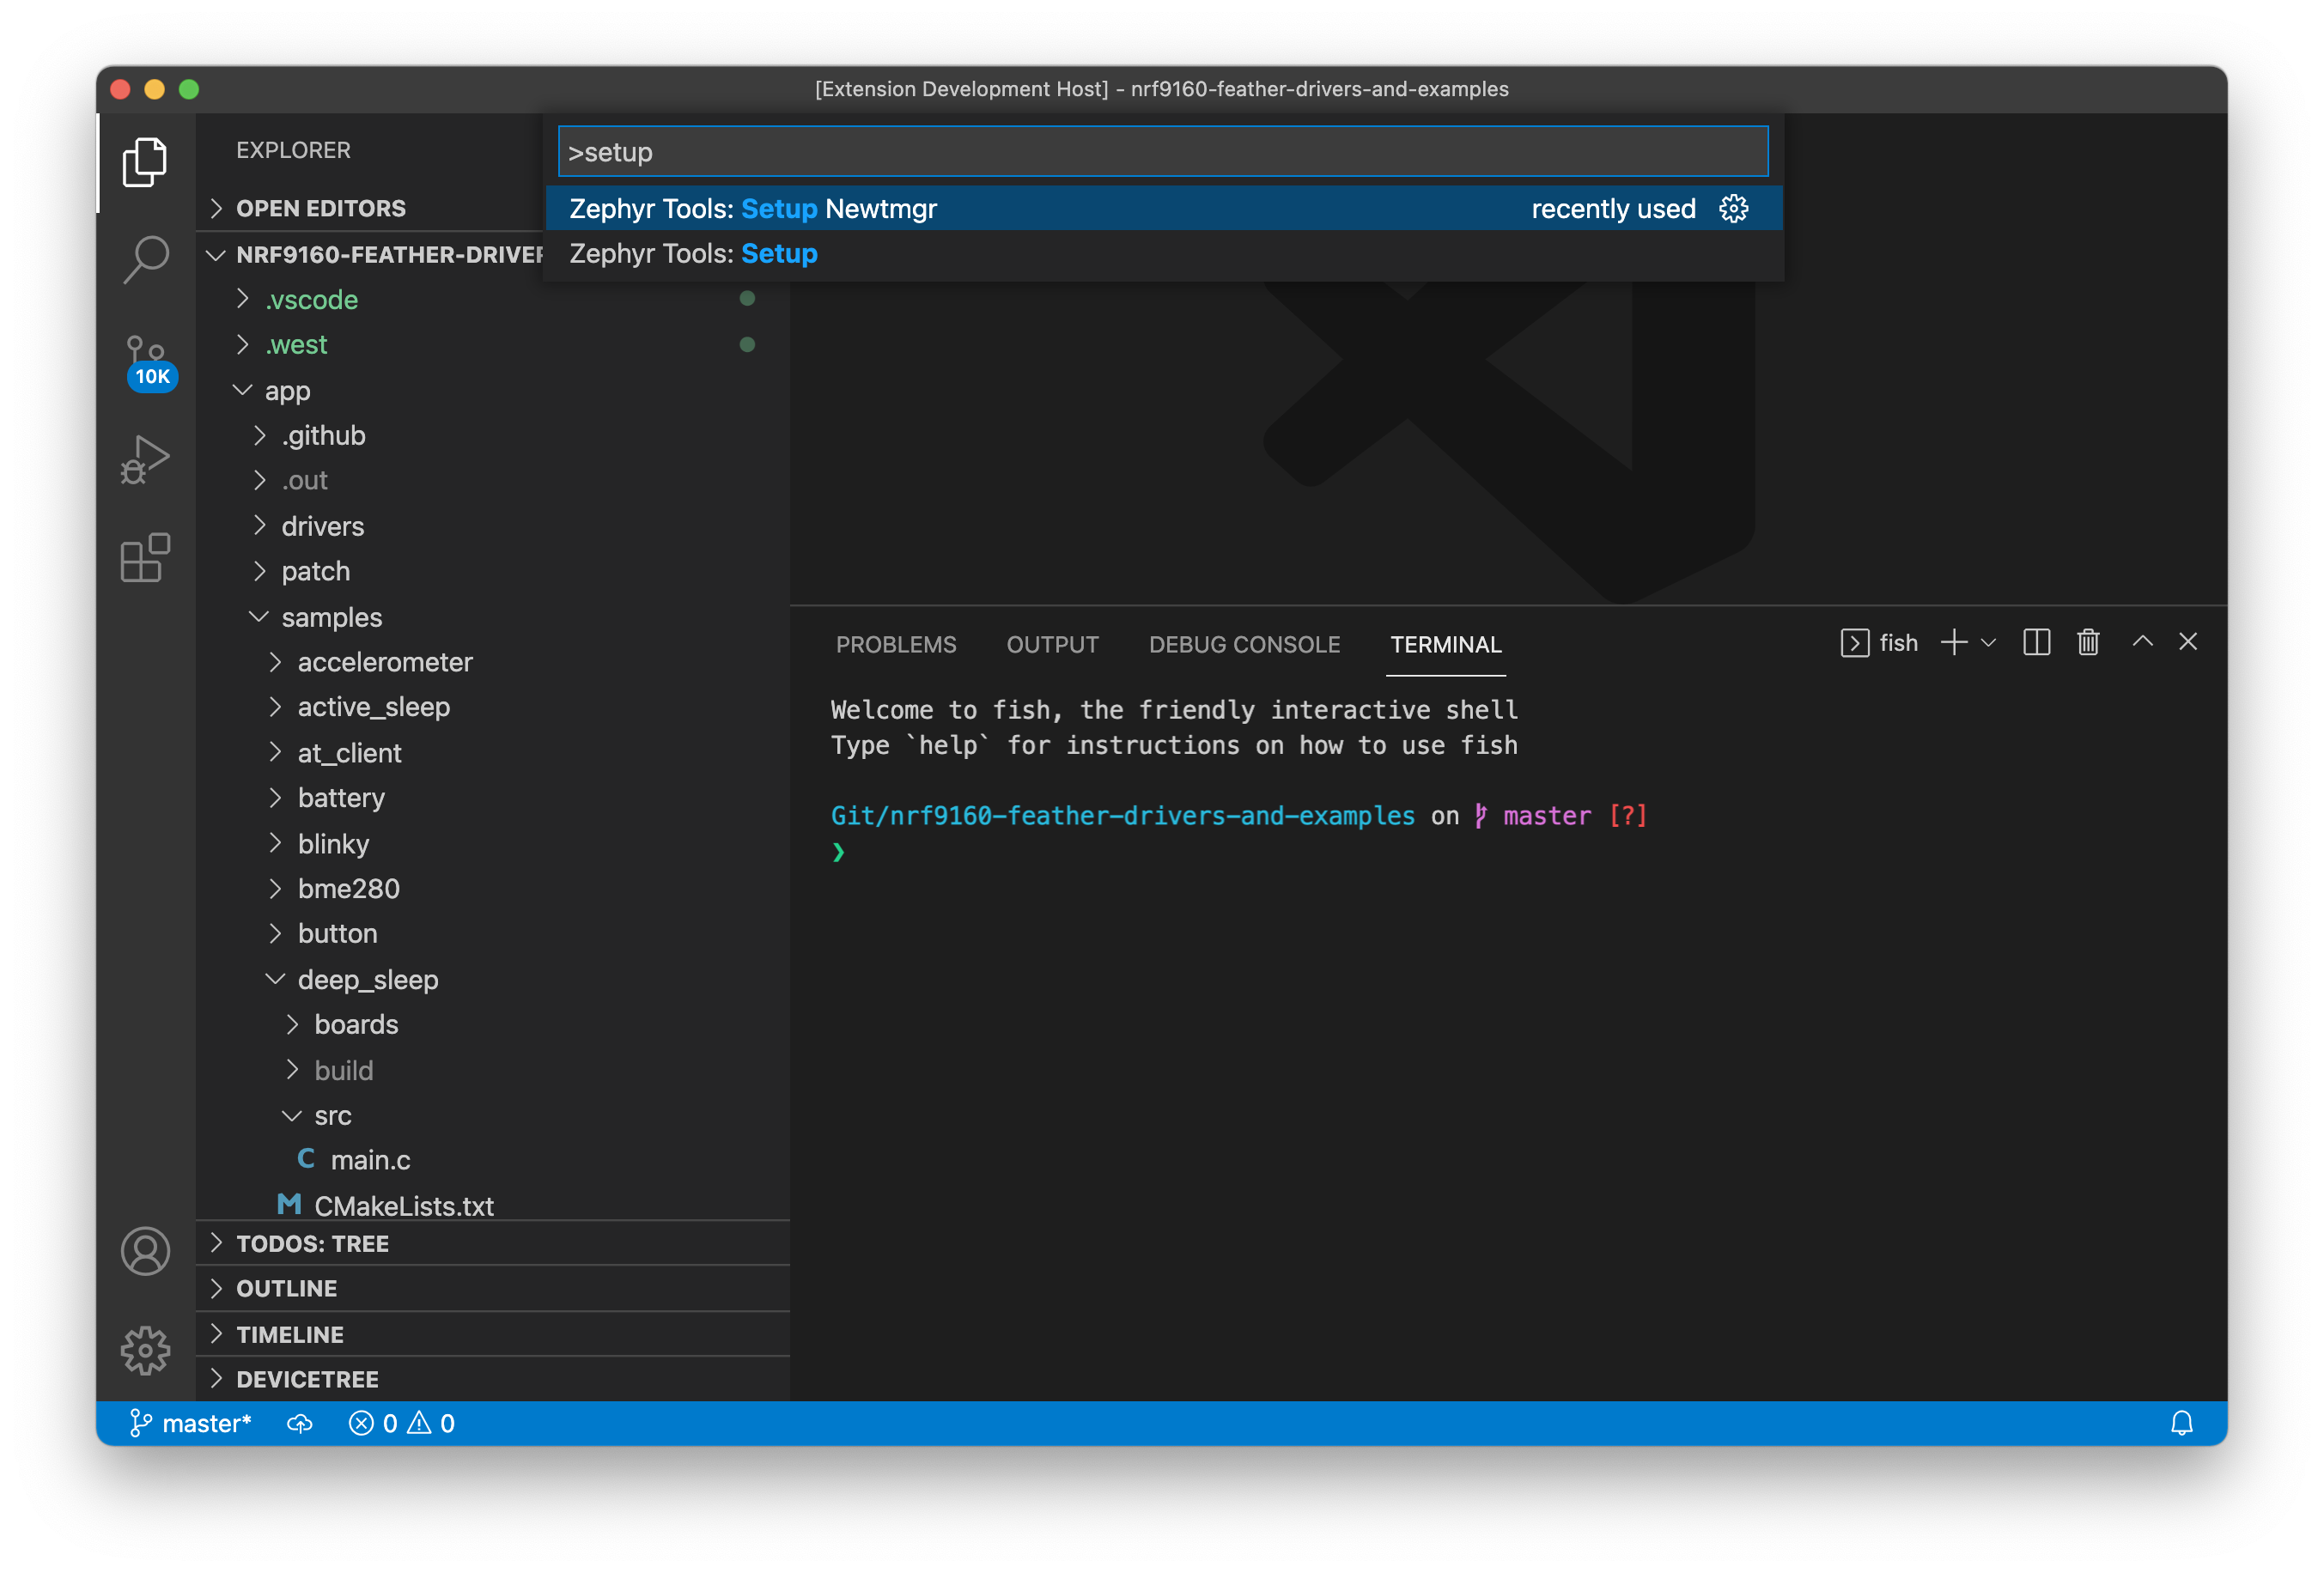
Then open the command window (COMMAND+SHIFT+P on Mac or CTRL+SHIFT+P on other systems) and type Zephyr Tools: Setup
Init the repo
Then initialize this repo using the Zephyr Tools: Init Repo command:
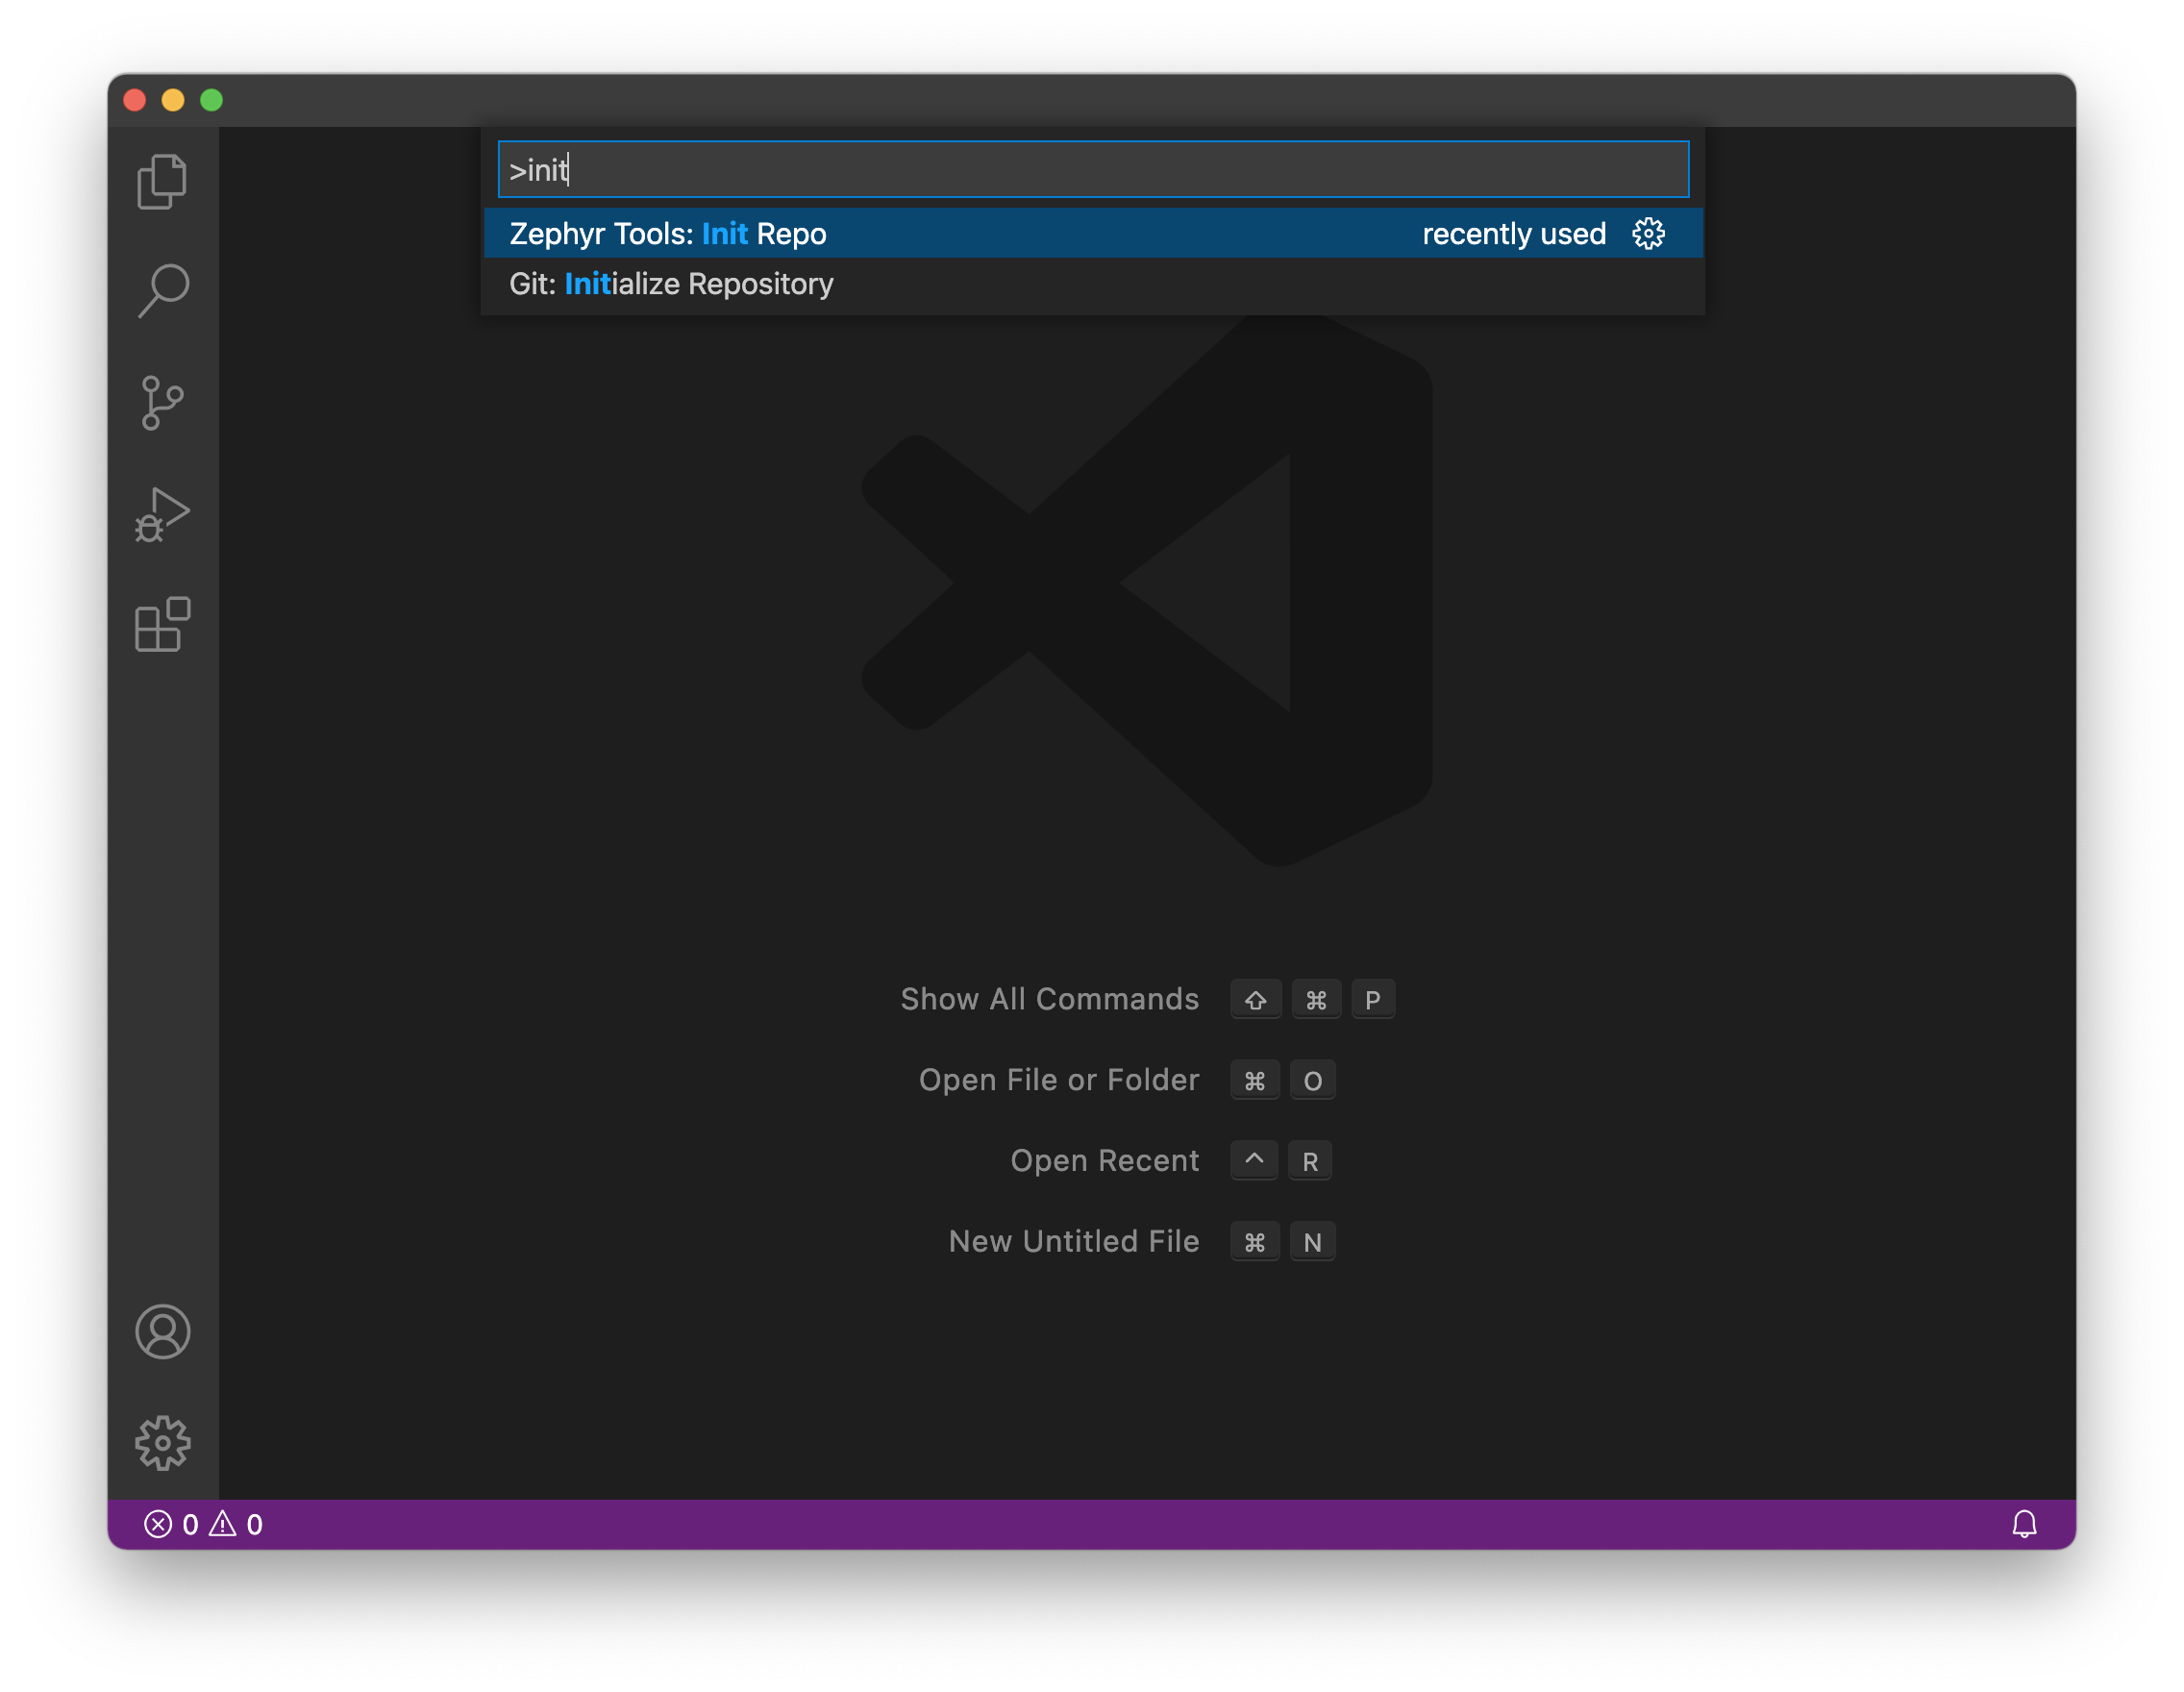
Make sure you use https://github.com/circuitdojo/nrf9160-feather-examples-and-drivers.git as the URL. It's best to select an empty folder to initialize the project to.
Then build the sample!
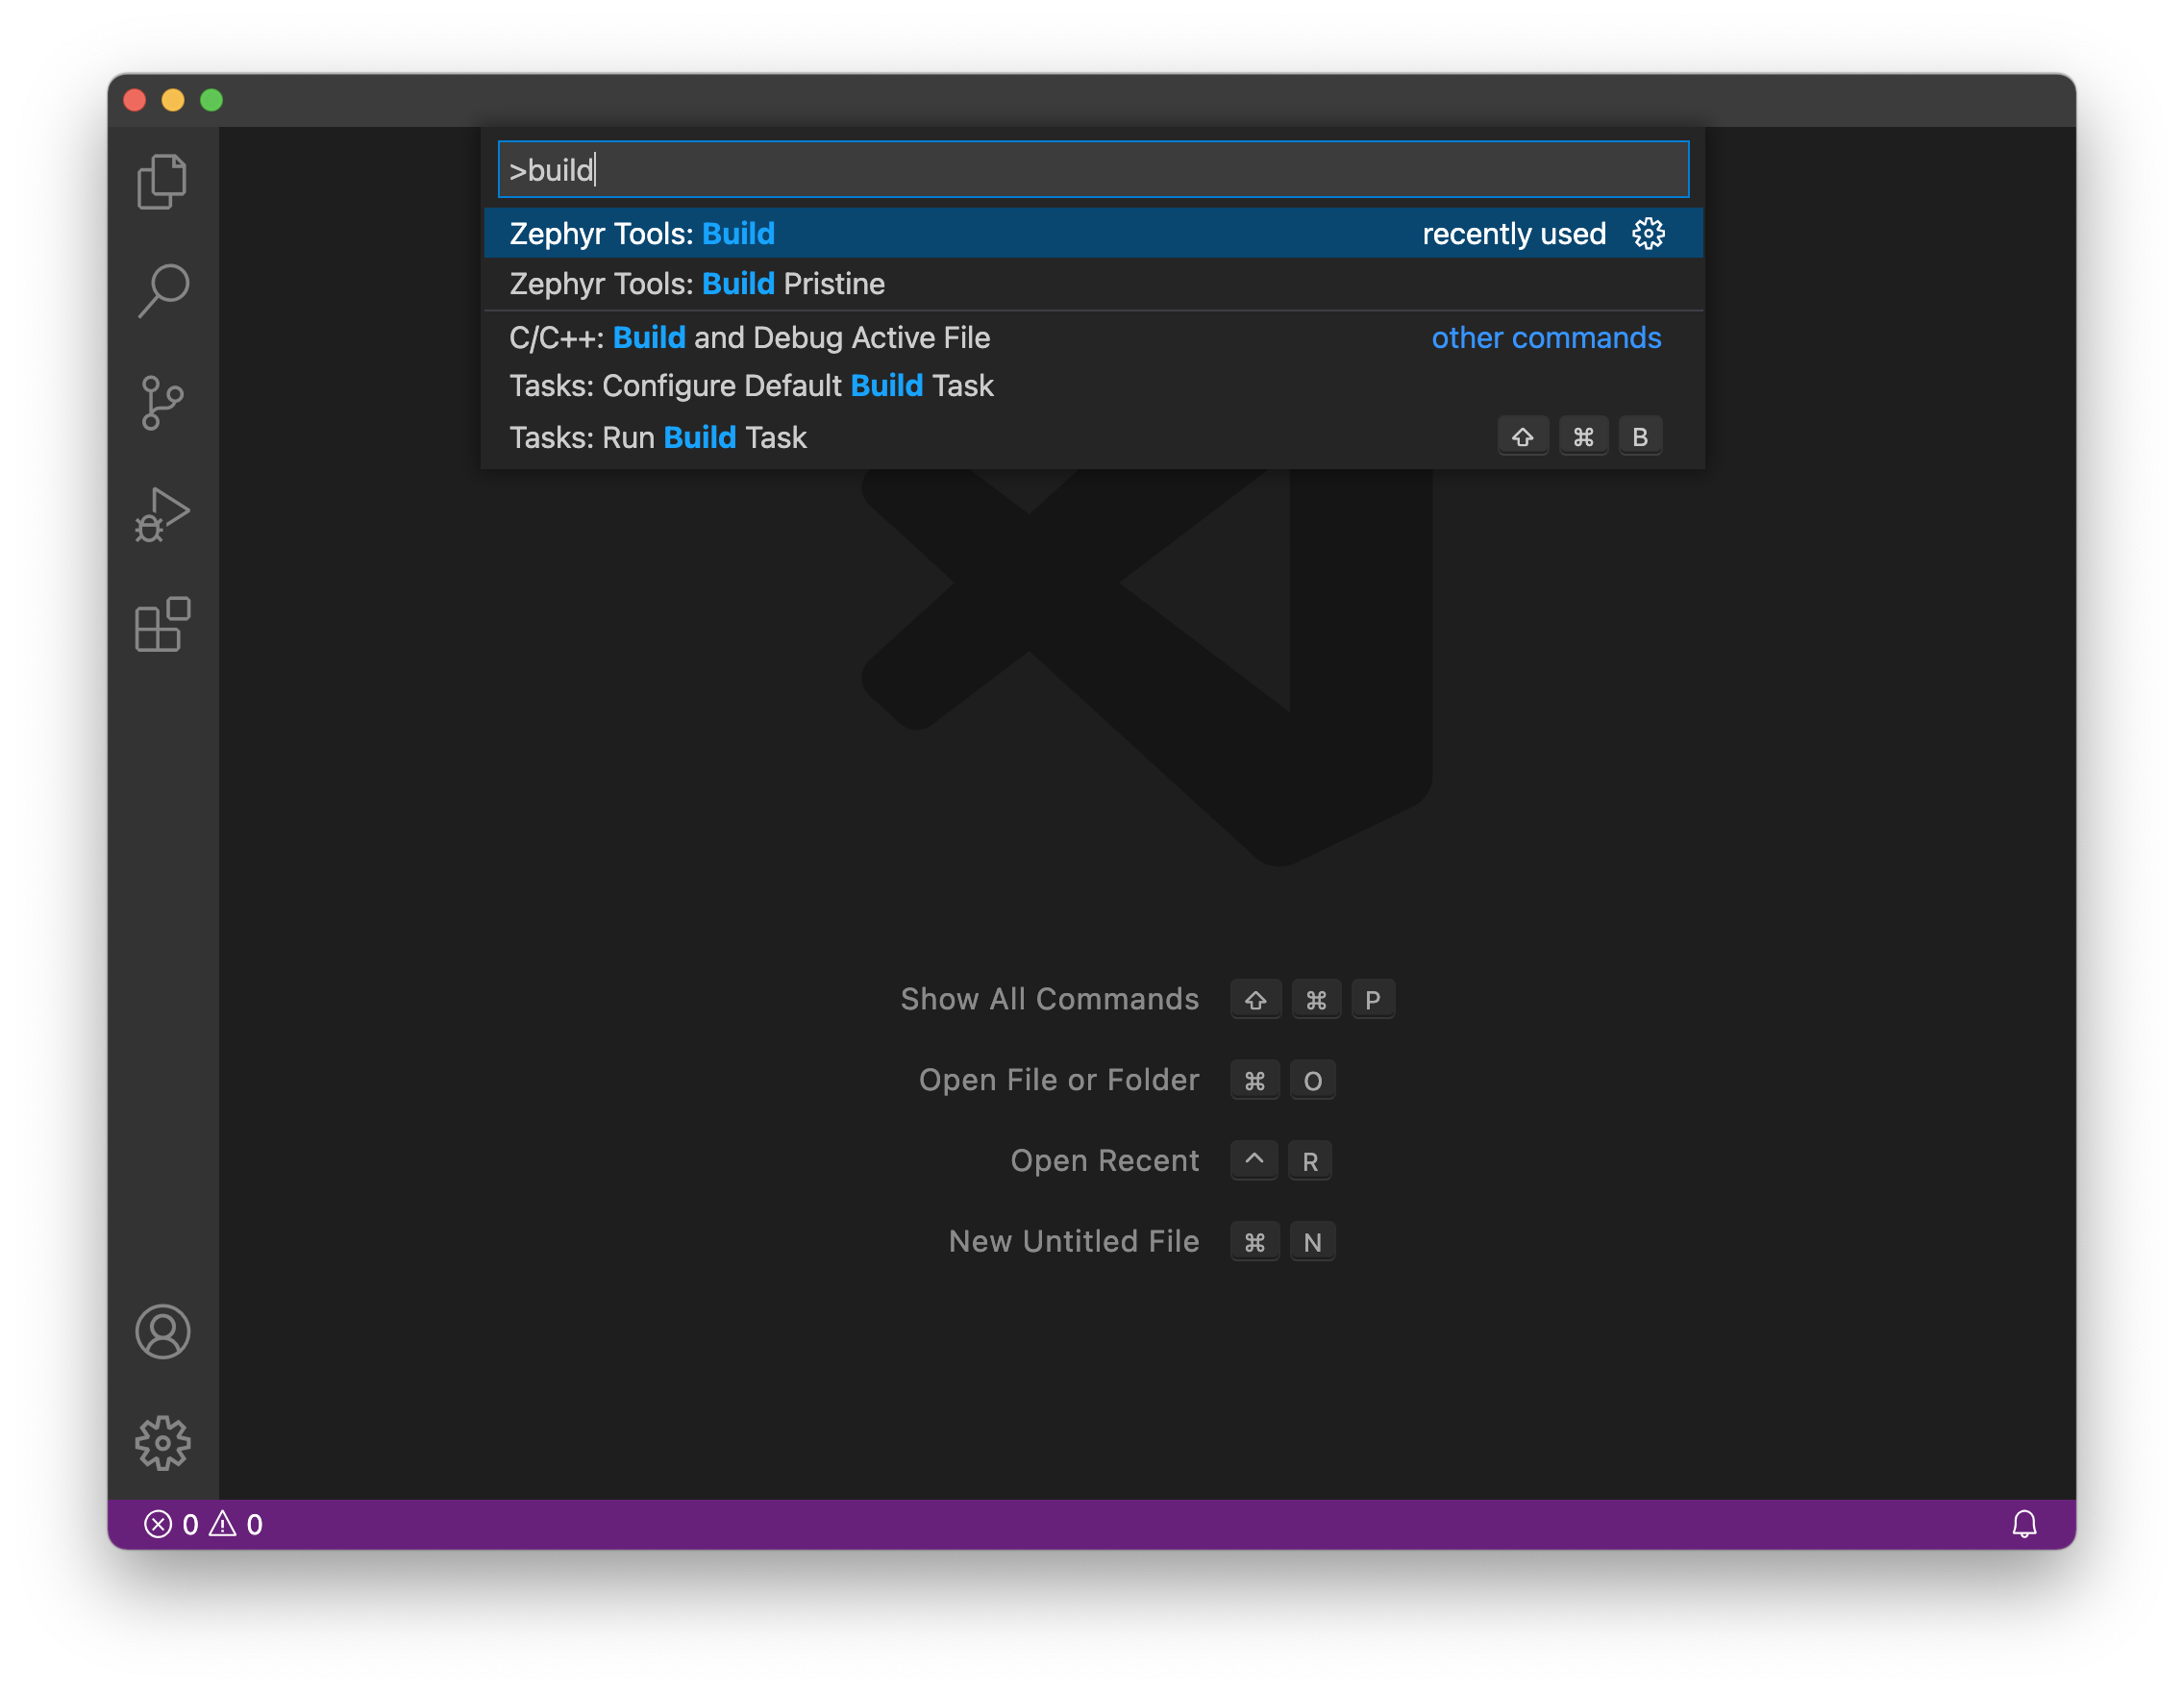
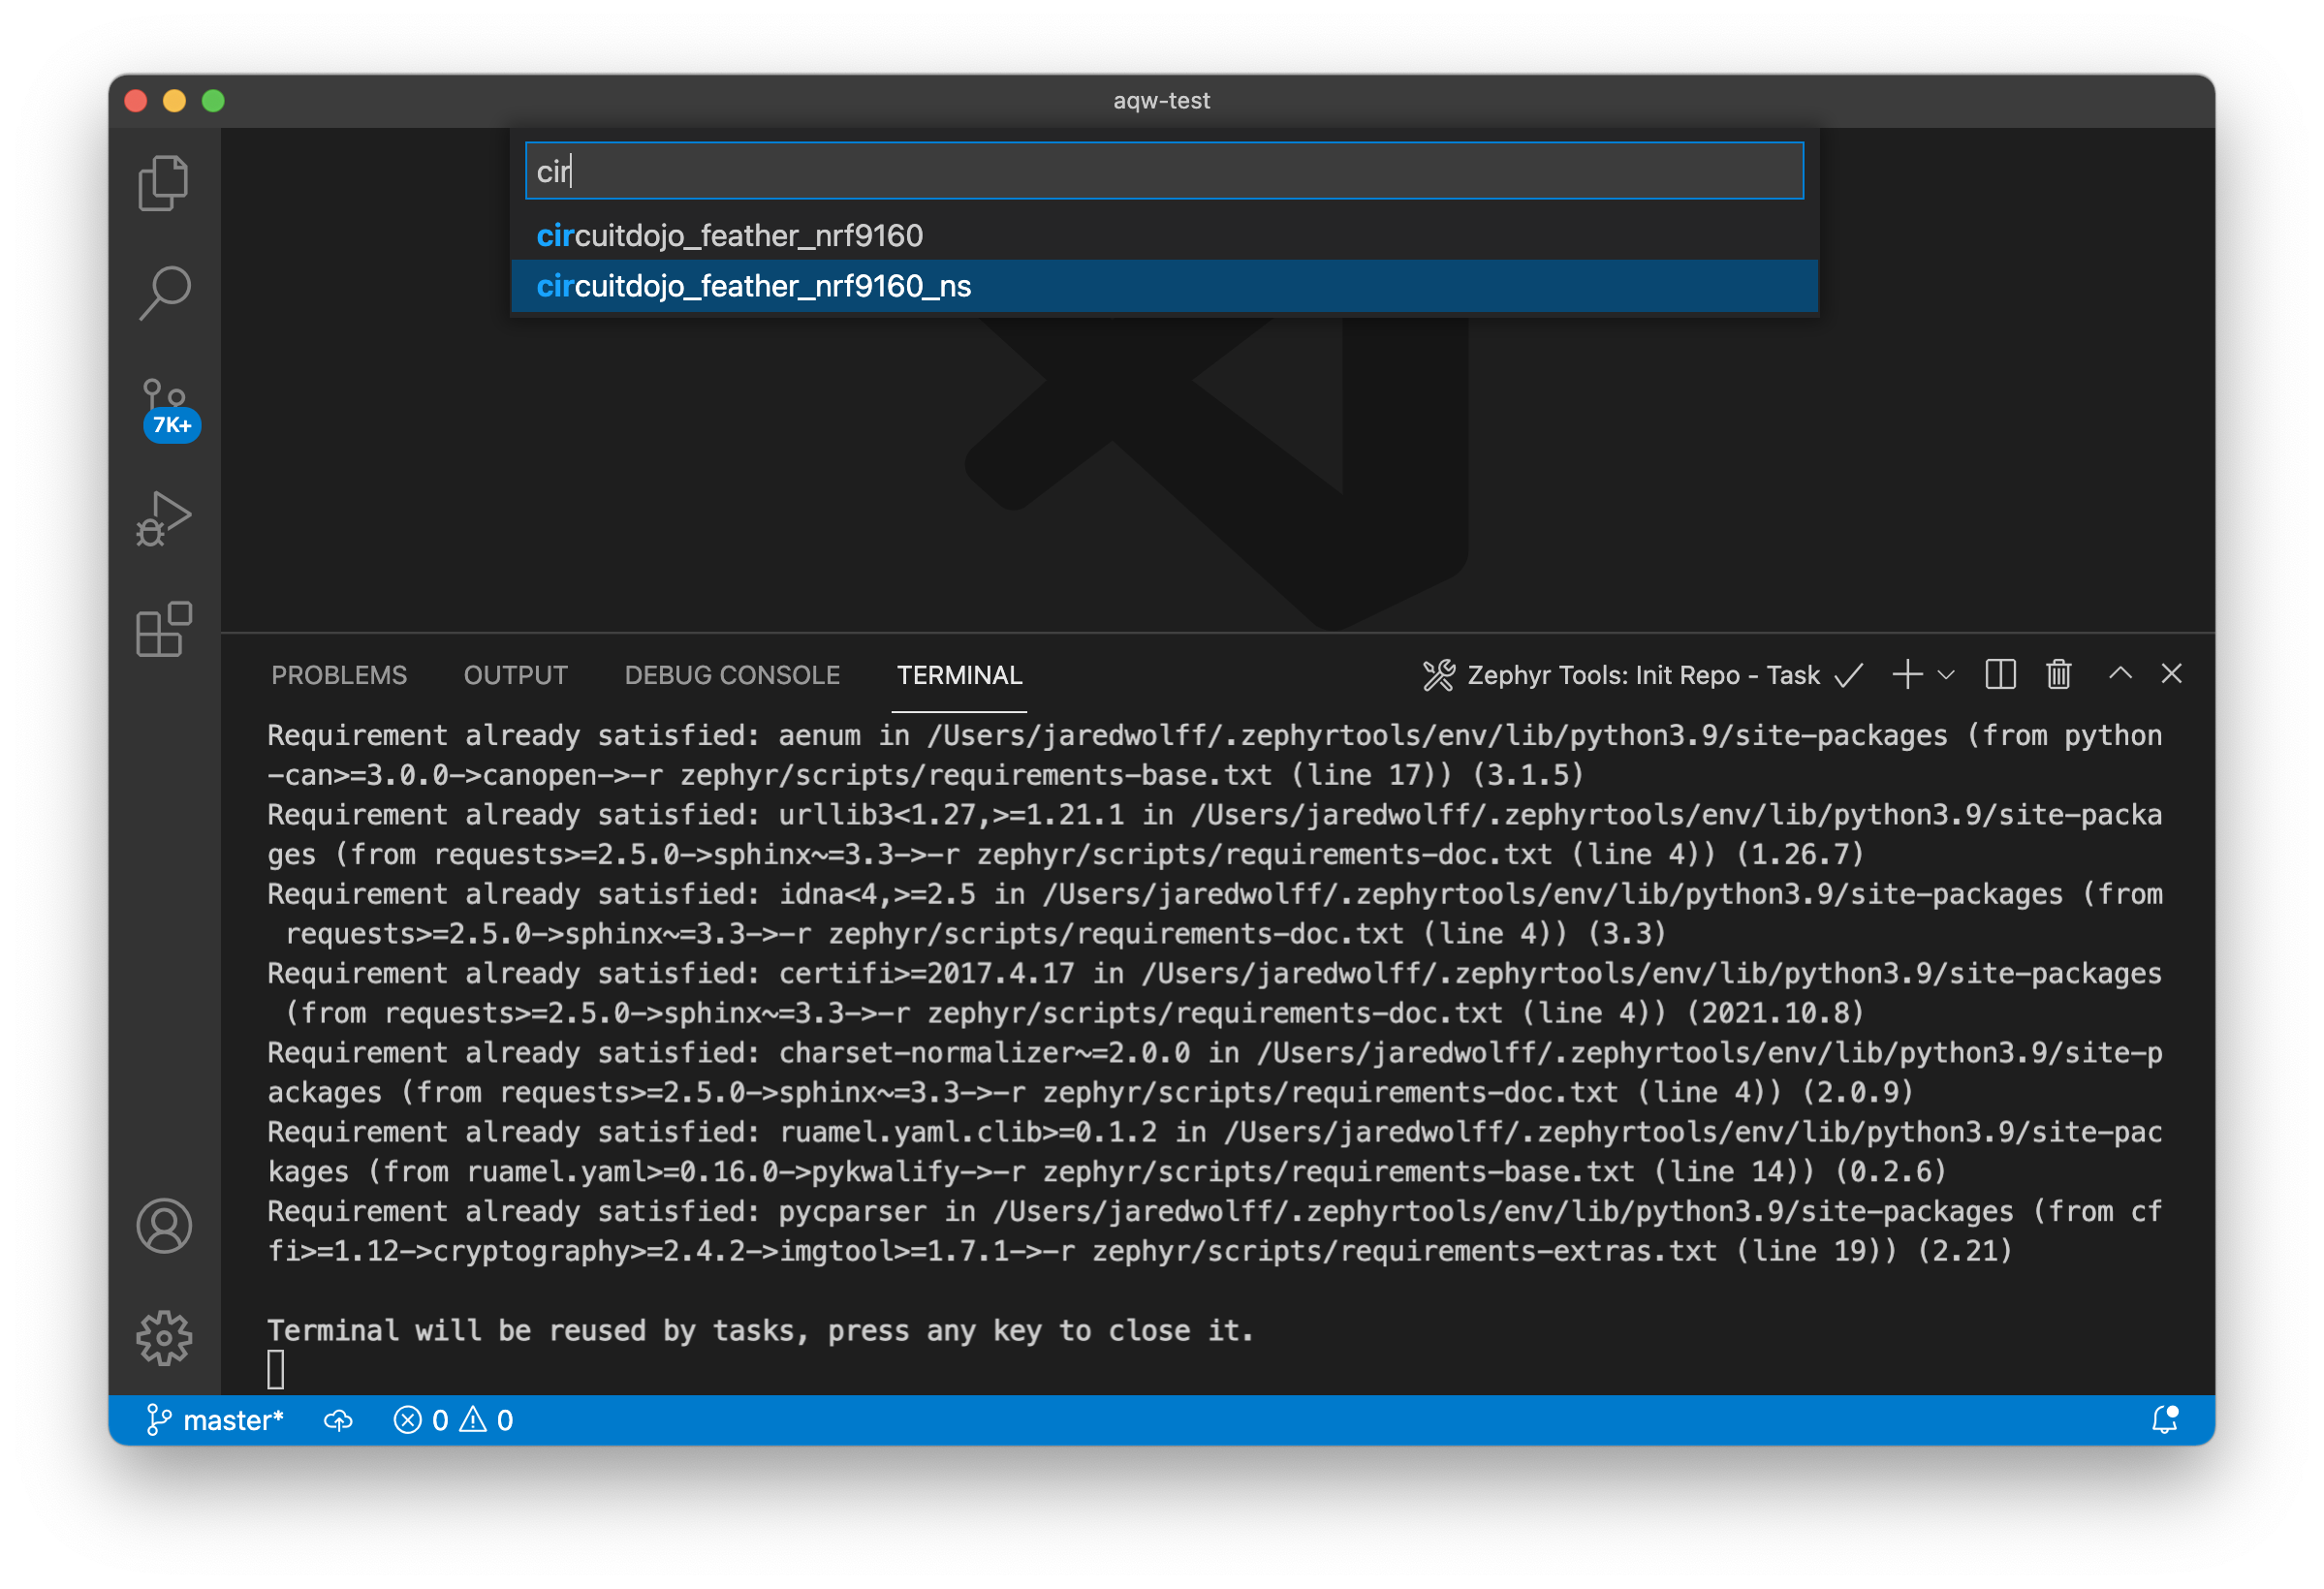
You'll be prompted for a project and board. Make sure the board matches the supported boards. Current supported board targets include:
Here's what it will look like:
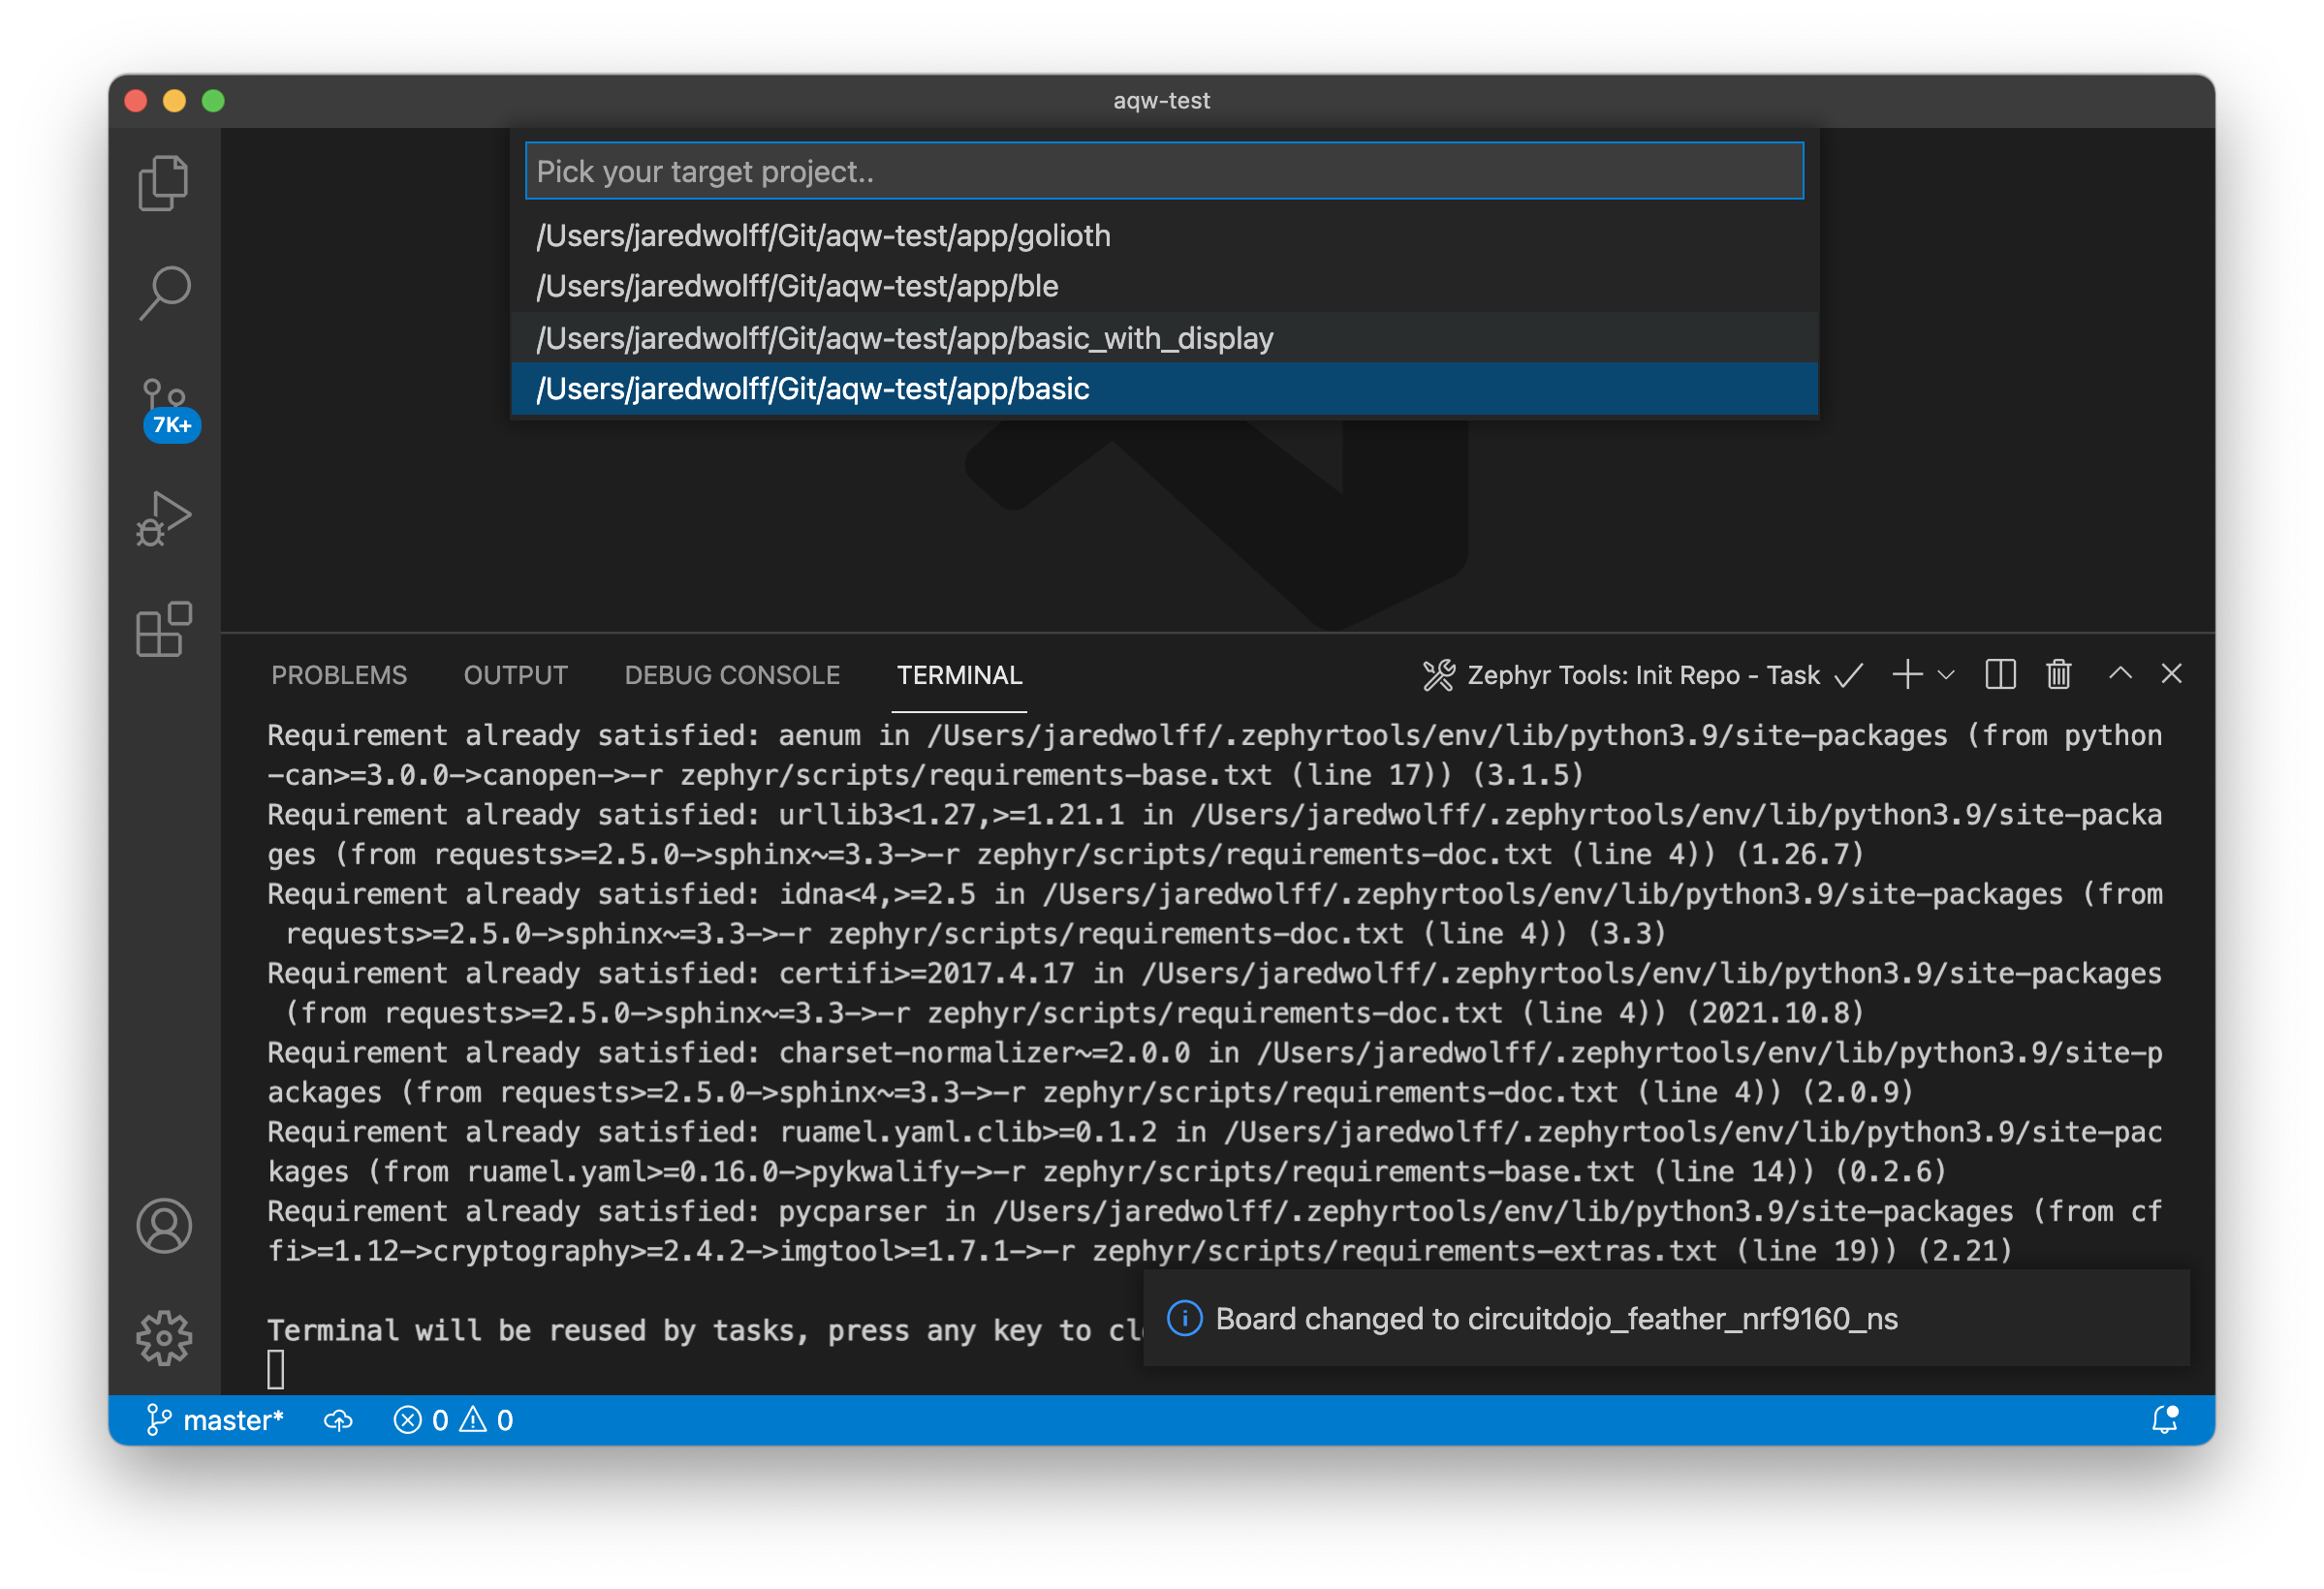
Once the build completes you should get a Build complete! popup along with some success messages in the the terminal.
newtmgr (Used to load your application via USB serial bootloader)
newtmgr is the command line utility for loading code to your device. It is automatically installed with the VSCode extension. Lets configure it the rest of the way.
Configuring is simple as running the Zephyr Tools: Setup Newtmgr command
Select your serial port:
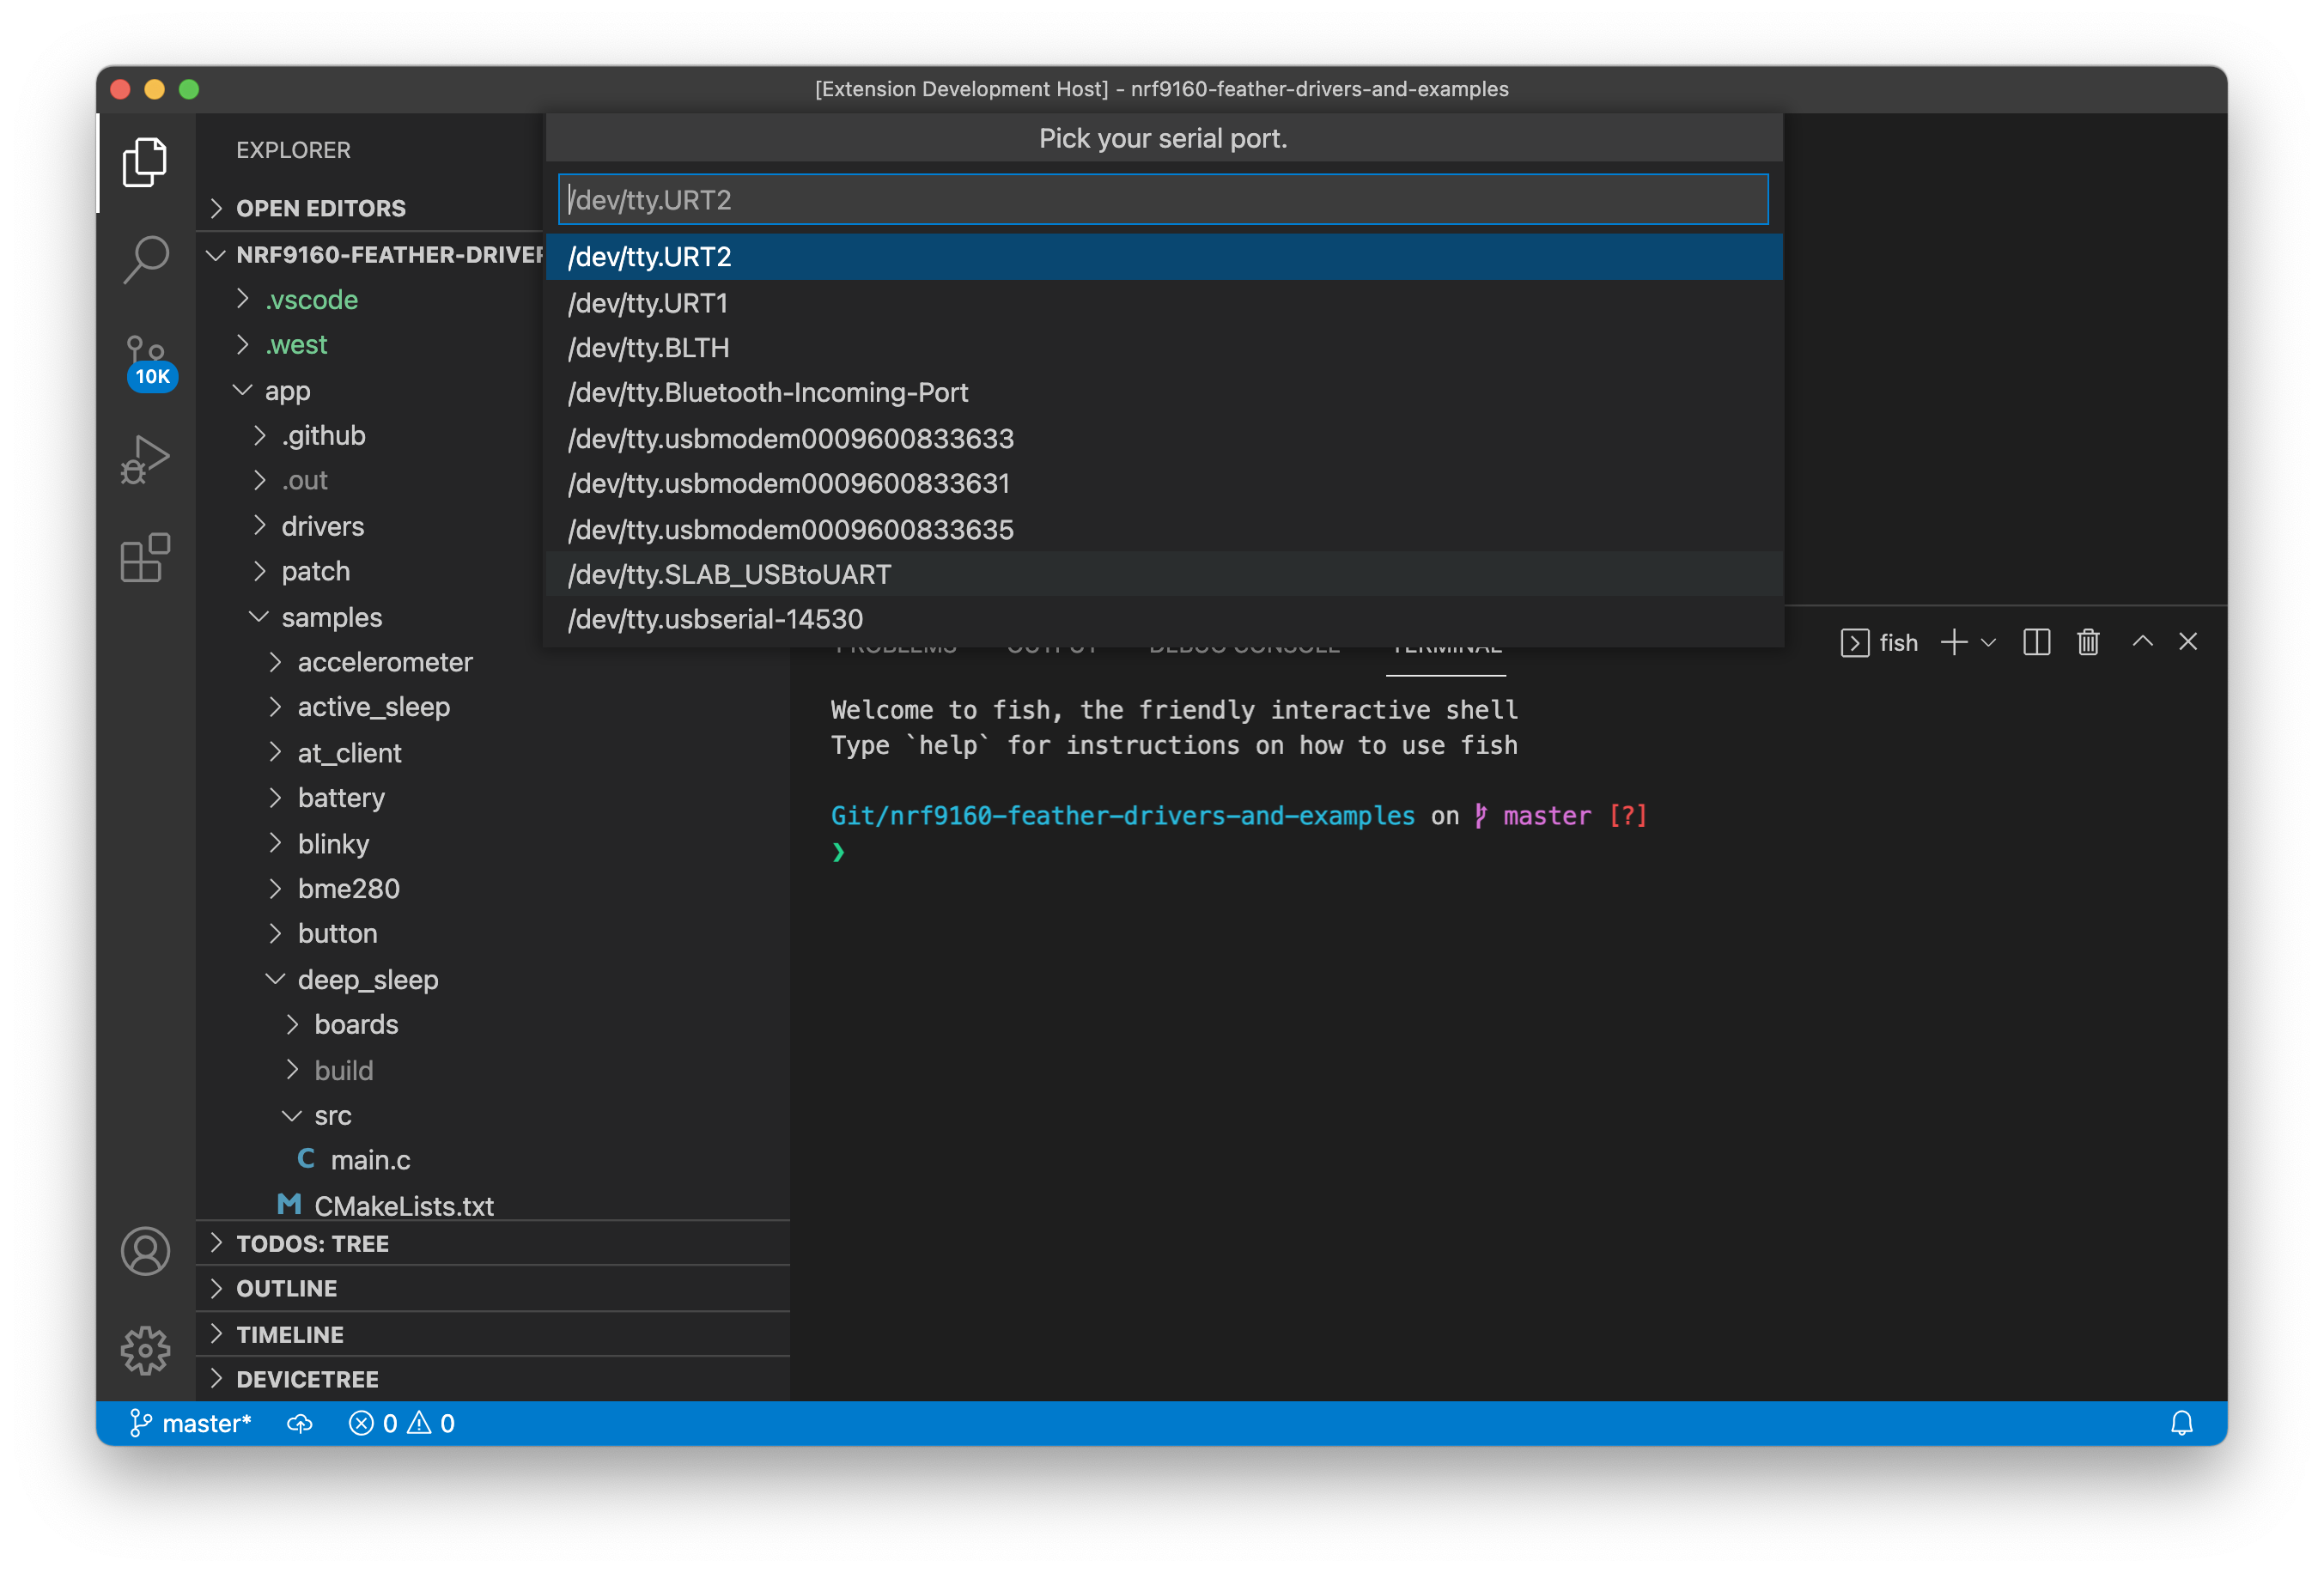
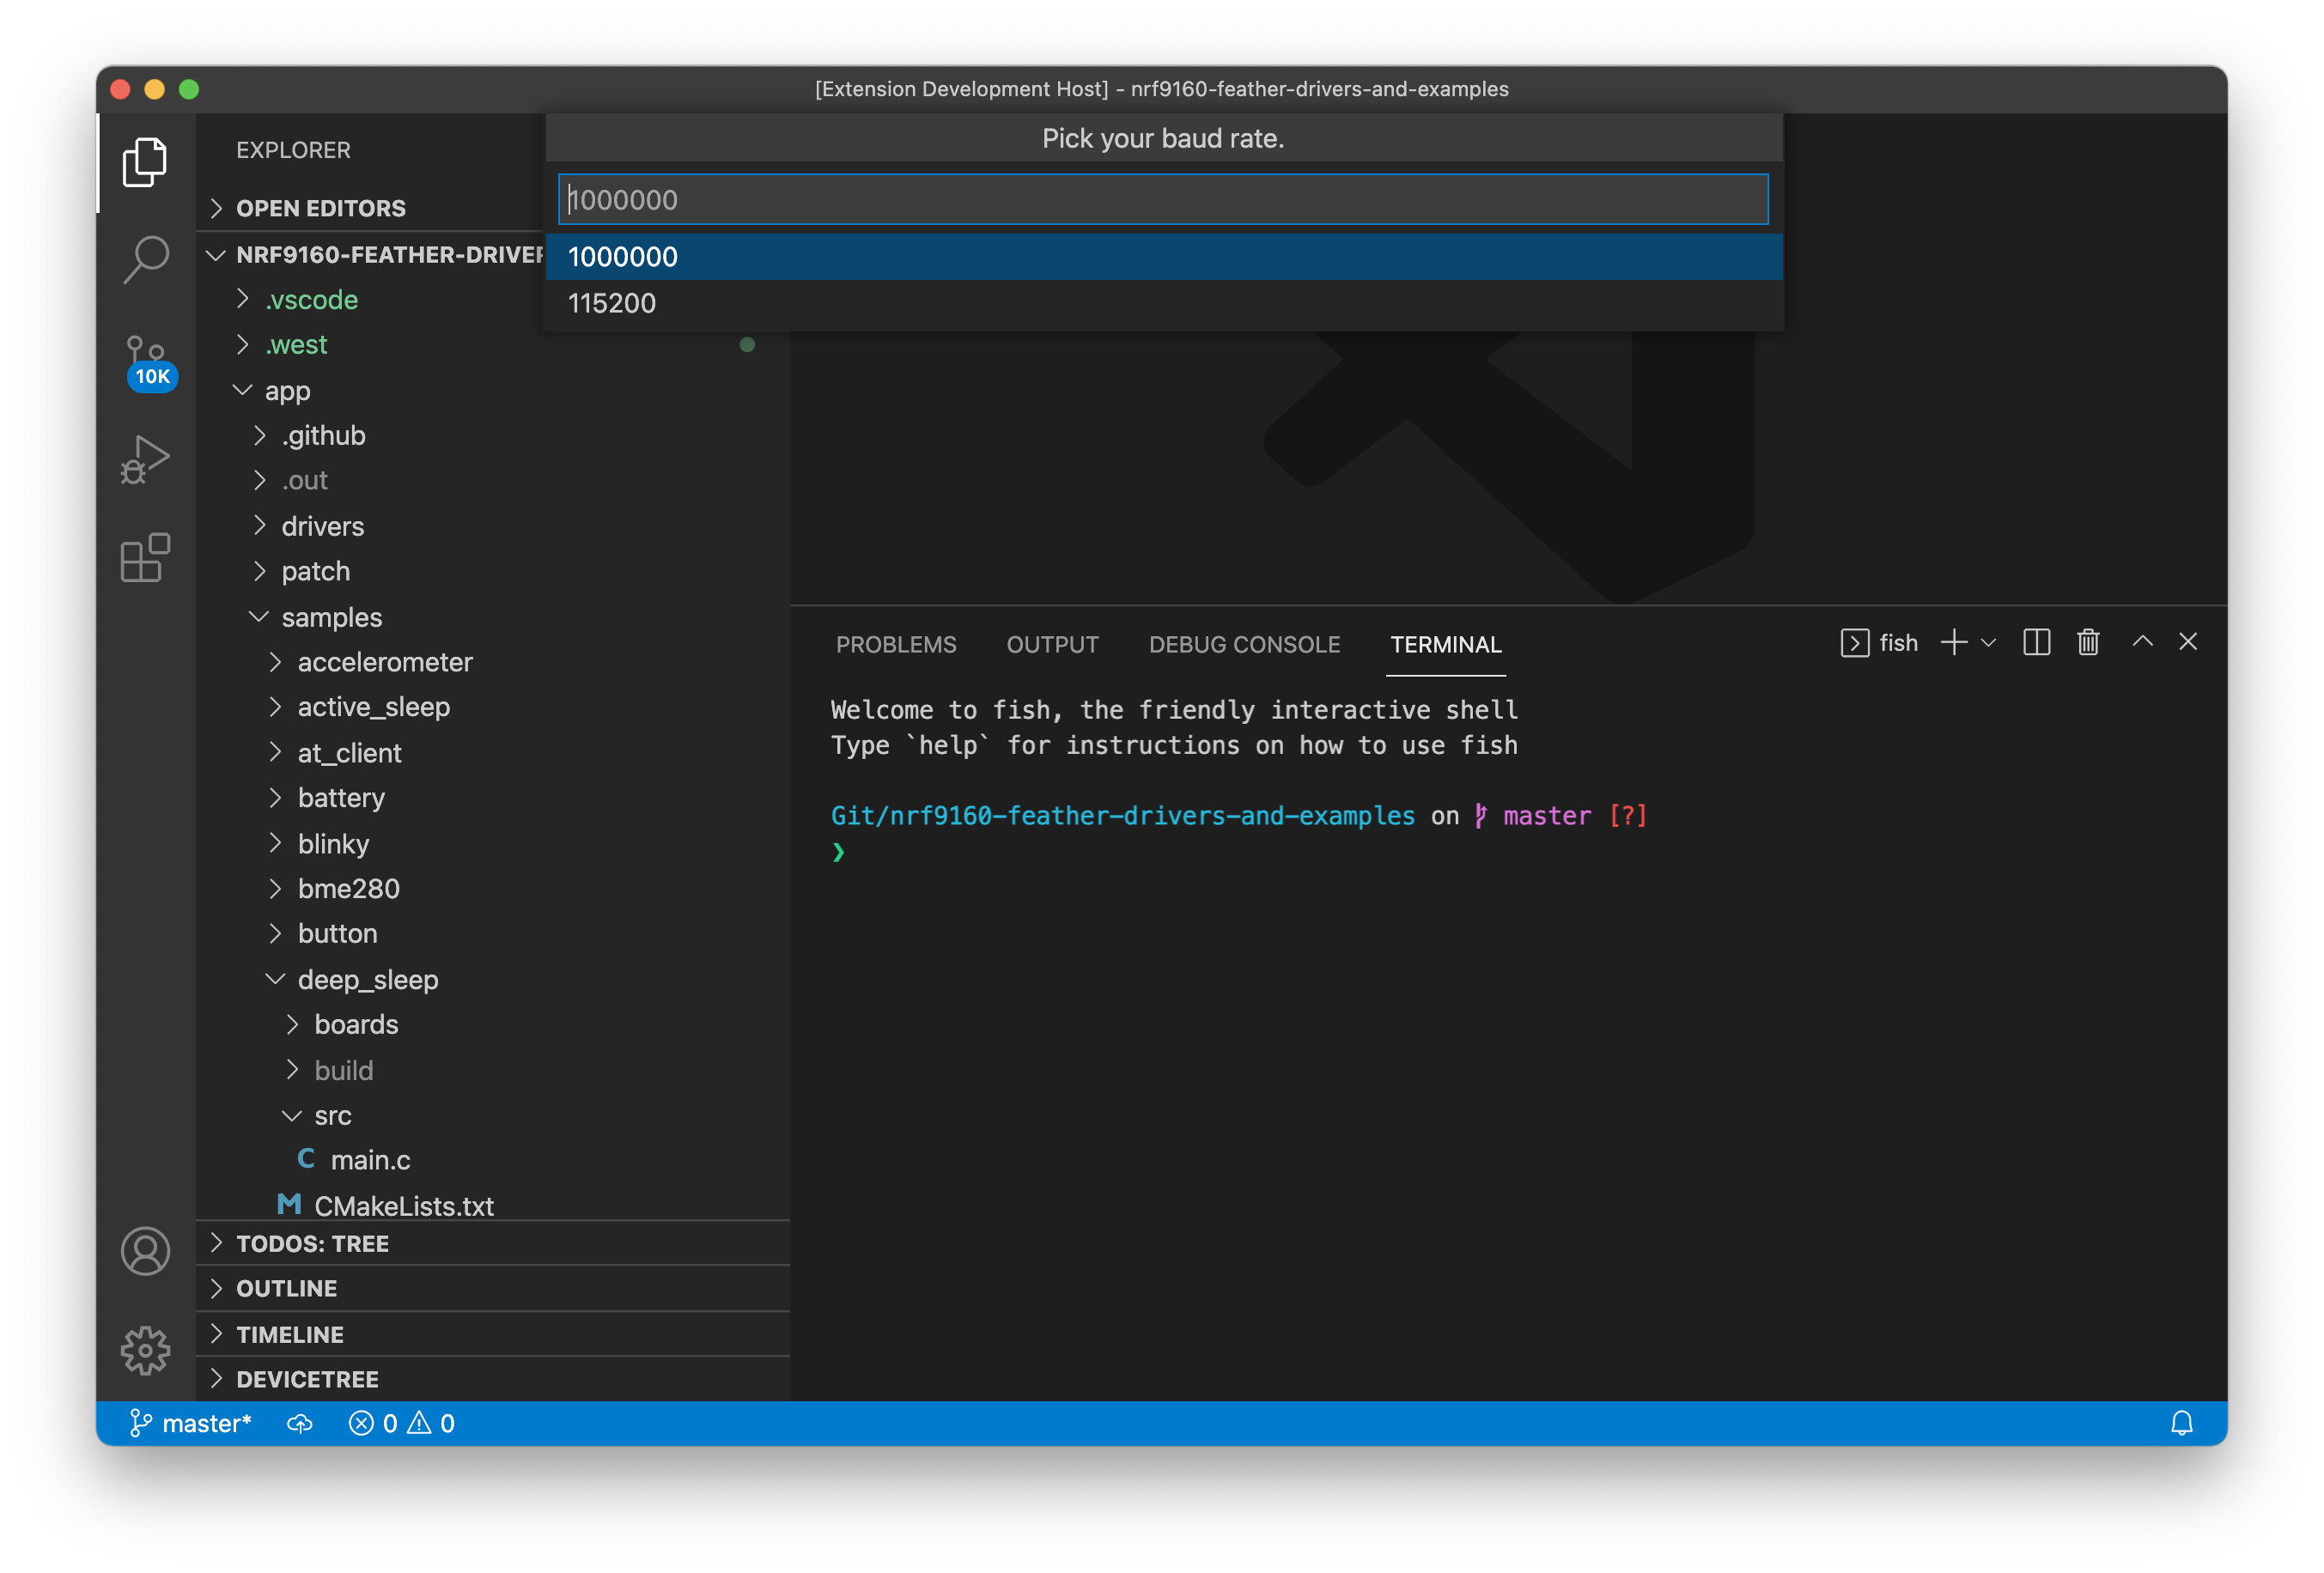
Then select the BAUD. (Important! The nRF19160 Feather only supports 1000000) Once complete you're ready to run the Zephyr Tools: Load via Bootloader command.
Fixing serial port errors
Note if you get a Error: open /dev/ttyUSB0: permission denied error. You may need to add your user to the dialout group:
sudo usermod -a -G dialout <username>
This allows you to open a serial port without having to use sudo.
For more info in using newtmgr checkout the programming section of this documentation.
Testing it
You can quickly test if your SDK is set up correctly by checking out the samples.